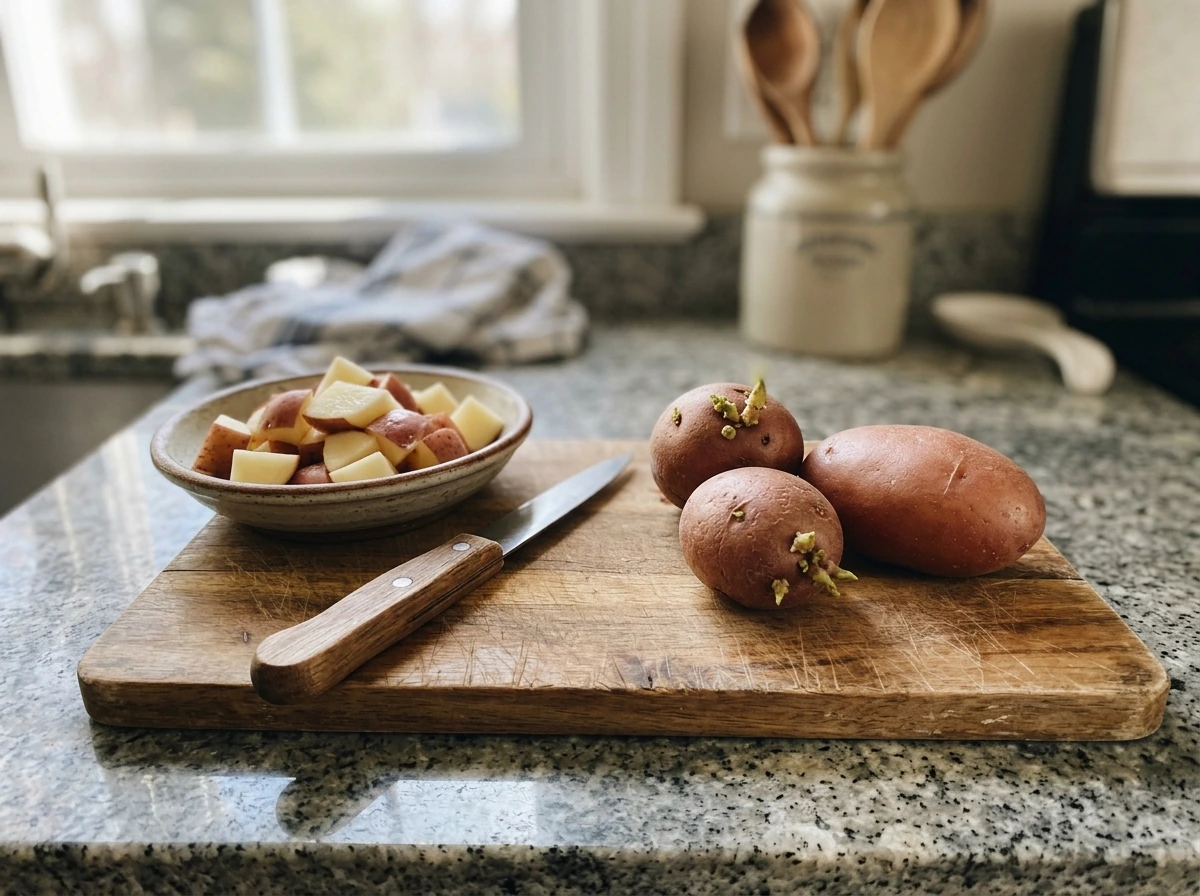
Mark Watney couldn't grow more potatoes in The Martian because he hit hard physical limits, not because potato grow sprouts can eat He had a fixed amount of growing medium, a finite water supply, limited light, a closed nutrient loop, and a shrinking timeline before his food ran out. Each of those constraints put a ceiling on how many plants he could grow, and none of them could be wished away. The interesting thing is that those exact same constraints, translated to real-world home gardening, are exactly what stops most people from getting a respectable potato harvest today. If you've grown potatoes and ended up with less than you expected, one of Watney's problems is probably yours too.
The Martian Why Couldn’t He Grow Potatoes and How to Boost Yield
Marcus Hendrick
24 Mar 2026
What "can't grow more potatoes" actually means
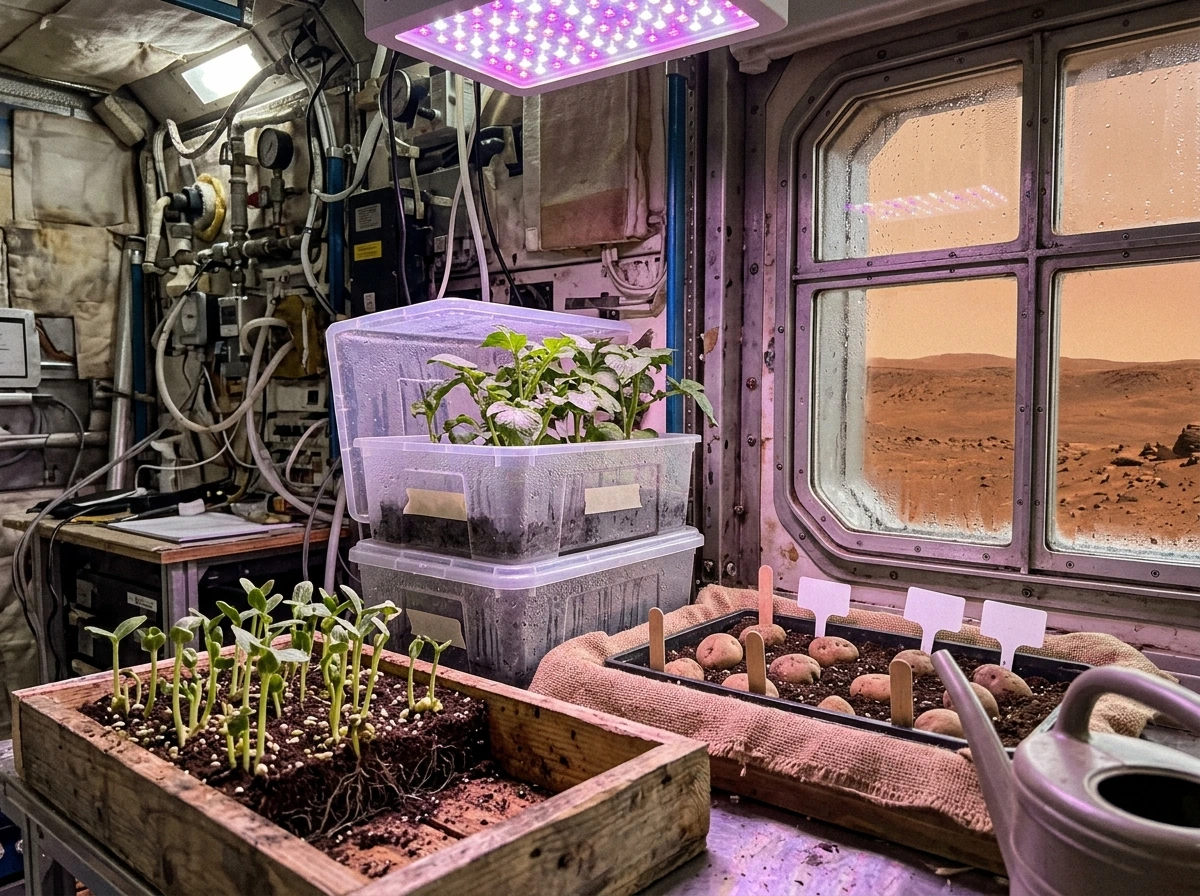
There's an important distinction between not being able to get any potatoes and not being able to scale up production. Watney solved the first problem: he got potatoes to grow in a Martian habitat using Martian soil mixed with human waste as fertilizer, recycled water, and the Hab's climate controls. That's impressive on its own. But scaling up, meaning growing enough calories to actually survive until rescue, was where the constraints became crushing. The growing area was fixed. The water supply was finite. The nutrients in his improvised soil mix were limited. And time was always running out.
In home gardening terms, this is the difference between "I grew some potatoes" and "I grew enough potatoes to actually matter for my food supply." If you're trying to move from a handful of tubers to a meaningful harvest, you're dealing with a scaling problem, and scaling problems always come down to identifying your single biggest limiting factor and fixing that first.
The specific constraints that boxed Watney in
NASA plant researchers have long identified the essentials for growing food crops as water, light, and soil with adequate nutrients. Watney had compromised versions of all three, and the fictional constraints map almost perfectly onto real-world bottlenecks.
- Growing medium volume: Watney was limited to the floor area of the Hab. He could not expand the greenhouse. Every square foot of viable growing medium was spoken for, which capped the total number of plants he could put in the ground.
- Water: Mars doesn't have liquid surface water, and the Hab carried a finite supply. Watney had to engineer a water source, and even then the total volume was limited. Potatoes need consistent soil moisture, especially during tuber formation. Running dry at the wrong moment kills yield.
- Nutrients: Martian soil is essentially broken rock. NASA notes it lacks most of the nutrients needed to sustain plant growth. Watney improvised fertilizer from human waste, which provided some nitrogen, but that's a far cry from a balanced fertility program. Deficiencies in phosphorus and potassium alone would significantly reduce tuber yield.
- Light: The Hab wasn't a purpose-built grow room. Light availability on Mars is already lower than on Earth due to greater distance from the sun, and the Hab's lighting wasn't optimized for crop production. NASA experiments with potato-adjacent systems use hydroponic recirculating setups with carefully managed light, not habitat overhead lighting.
- Temperature: Potato tubers form best when soil temperatures stay between 60°F and 70°F. At 80°F, tuber formation essentially stops. Controlling soil temperature in a pressurized habitat with improvised insulation isn't straightforward.
- Time: The rescue timeline was fixed. Potatoes take roughly 70 to 120 days depending on variety. If the calendar says you need to leave before the crop matures, no amount of good growing practice helps.
What makes The Martian's scenario so useful for home gardeners is that Watney couldn't just "try harder." He was running into physics and chemistry, not effort. The same is true in your garden. If your soil is too warm, too dry, or too nutrient-poor, no amount of extra attention will push through those walls.
How to figure out what's actually limiting your potato yield
Before you change anything, diagnose the problem. This is the step most home gardeners skip, and it's why the same mistakes repeat season after season. Work through these in order, because some limiters mask others.
Soil volume and container size
If you're growing in containers, bags, or raised beds, the first question is simple: do the plants have enough room? Potato tubers develop on stolons underground. If the soil volume is too shallow or too narrow, tubers run out of room to form. Each potato plant needs at least 2.5 gallons of soil volume to produce meaningfully, and 5 to 10 gallons per plant is better. If you're growing in containers, bags, or raised beds, the first question is simple: do the plants have enough room? Potato tubers develop on stolons underground. If the soil volume is too shallow or too narrow, tubers run out of room to form. Each potato plant needs at least 2.5 gallons of soil volume to produce meaningfully, and 5 to 10 gallons per plant is better. If you're growing in a trash can or fabric grow bag (a popular small-space method), make sure you're giving each plant its own space. A cramped container is a ceiling you can't overcome with fertilizer or water. A cramped container is a ceiling you can't overcome with fertilizer or water.
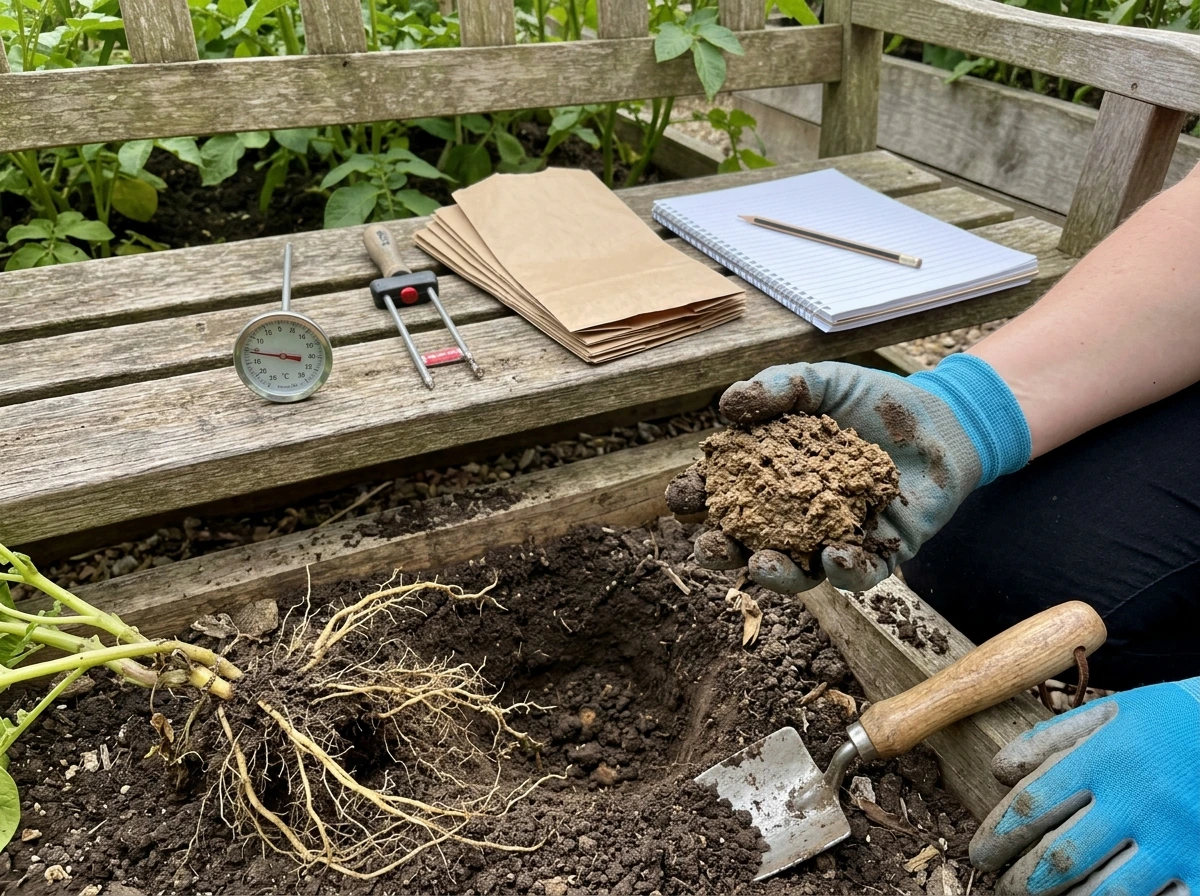
Soil temperature
Stick a soil thermometer 4 inches down and take readings in the morning and afternoon for a few days. If you're seeing temperatures consistently above 70°F, tuber formation is being suppressed. Above 80°F, it effectively stops. This is one of the most overlooked yield killers in warm climates or in containers that heat up fast. Straw mulch, shade cloth during the hottest part of the day, and timing your planting for the right season are the practical fixes.
Soil moisture
Dig down 4 to 6 inches and grab a handful of soil. It should feel like a wrung-out sponge: moist but not dripping. If it crumbles or feels dusty, you're too dry. Dry soil during tuber set doesn't just reduce yield, it significantly increases the risk of common scab, a rough-skinned tuber disease caused by Streptomyces bacteria that thrives in dry, alkaline conditions. NDSU research shows that keeping soil moisture at 80 to 85% capacity during tuber initiation until tubers reach 1 to 1.5 inches in size dramatically reduces scab incidence. Maintaining that moisture window is one of the highest-leverage things you can do for both yield and quality.
Soil pH and nutrients
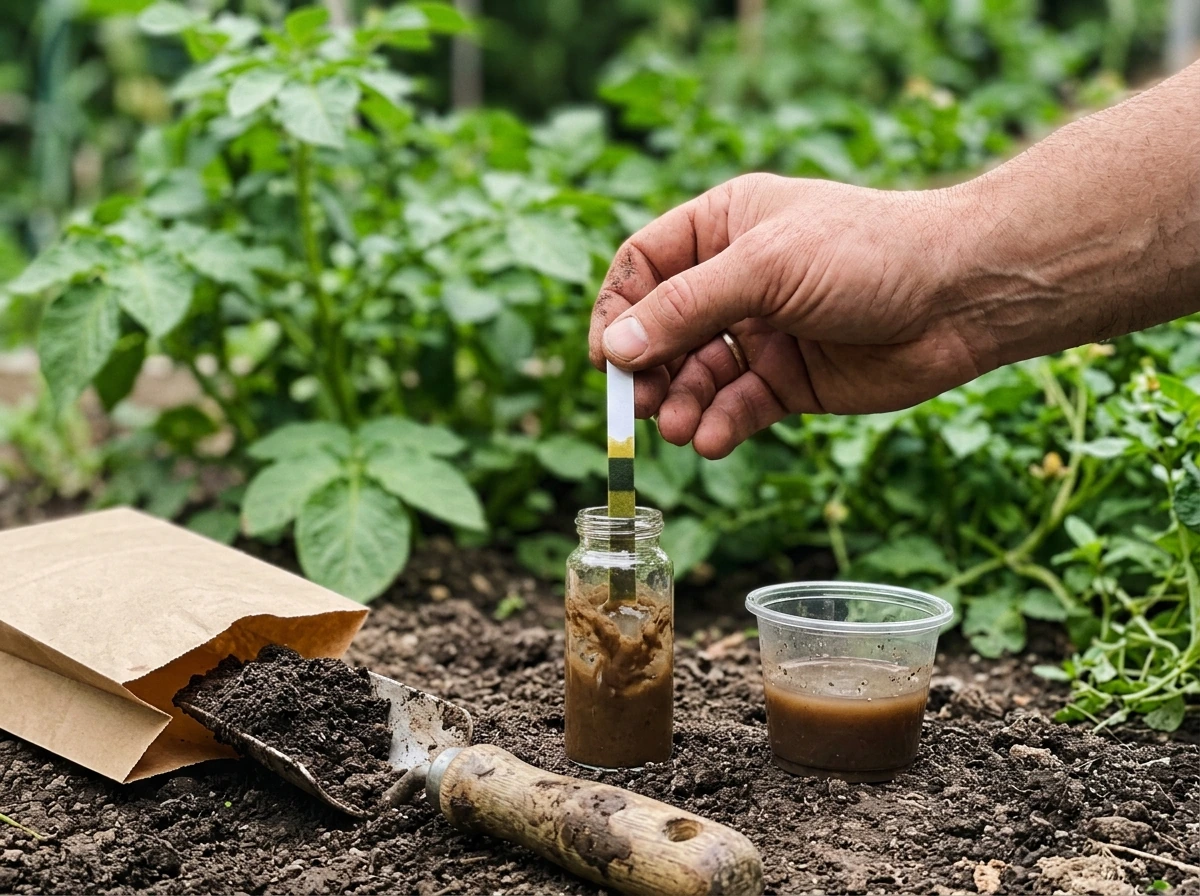
Get a soil test. This is not optional if you're serious about yield. Potatoes prefer a pH of around 6.0 to 6.5 for general nutrient availability, but scab suppression benefits from keeping pH closer to 5.0 to 5.2. There's a real tradeoff here: lower pH suppresses scab but can also affect nutrient uptake. If scab has been a problem, University of California and Agriculture Victoria research both recommend targeting pH 5.0 to 5.2. If scab hasn't been an issue, staying in the 5.5 to 6.0 range is a reasonable compromise. You can lower pH with elemental sulfur at roughly 2 lbs per 100 square feet, though it works slowly and needs to be worked into the soil well ahead of planting.
Disease pressure
Look at the foliage. Dark lesions with pale halos on leaves, or foliage that's collapsing quickly in wet weather, suggests late blight, which can devastate a crop before you even get to harvest. Scabby, rough patches on tuber skin are common scab, which affects cosmetics and marketability but not yield as severely. Soft, water-soaked tubers are a different problem entirely. Identifying which disease you're dealing with determines your intervention. For late blight in home gardens, University of Maine Extension recommends preventive fungicide applications with active ingredients like mancozeb, maneb, or chlorothalonil before infection takes hold, not after you see it spreading.
Practical fixes to actually increase your yield
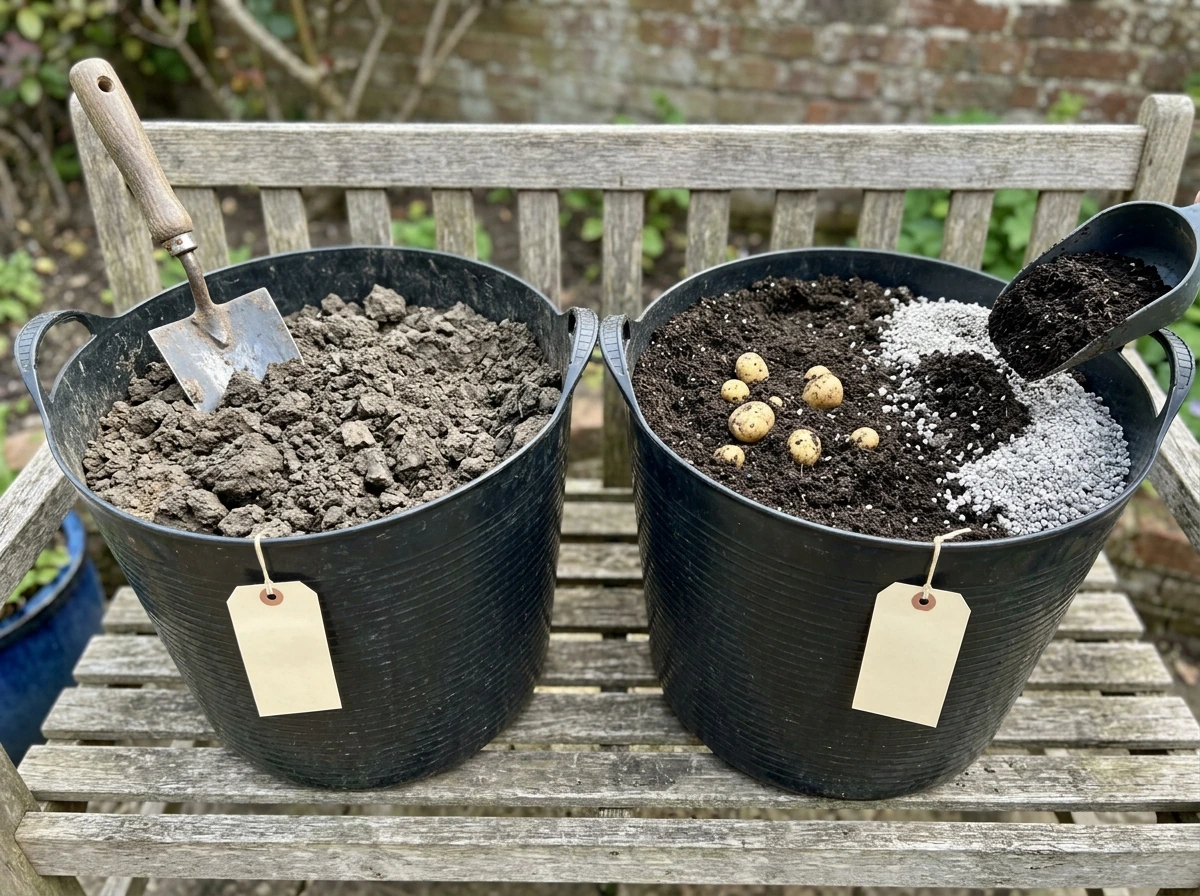
Build a better soil mix
Potatoes don't need perfect soil, but they do need loose, well-draining soil with good aeration. Heavy clay compacts around developing tubers and physically limits their size. A practical mix for raised beds or containers: roughly 60% high-quality compost, 30% loamy topsoil, and 10% perlite or coarse sand for drainage. Work the bed to at least 12 inches deep. If you're hilling (mounding soil up around the stems as the plant grows, which is standard practice and supports tuber development while preventing greening), you'll need extra material on hand.
Choose the right variety for your timeline
Early-maturing varieties like Yukon Gold or Red Norland are ready in 70 to 80 days. Late-season varieties like Russet Burbank can take 110 to 120 days. If your climate gives you a narrow cool window before summer heat shuts down tuber formation, choosing an early variety isn't a compromise, it's the right call. Watney's time constraint was rescue-deadline-driven. Yours might be climate-driven, but the logic is identical: match variety maturity to your available cool growing window.
Fertilization: what to use and when
If you don't have a soil test yet, University of Maine Extension recommends starting with a balanced 10-10-10 fertilizer at about 1 lb per 10-foot row worked into the soil before planting. Do not use any fertilizer labeled "Weed and Feed," as University of Minnesota Extension explicitly warns these products can kill vegetable plants. After planting, side-dress with a lower-nitrogen fertilizer as plants approach flowering, because excess nitrogen at that stage delays maturity and pushes the plant toward foliage rather than tubers. Phosphorus and potassium are critical for tuber development and should be in good supply at planting time.
Watering schedule that actually works
Aim for 1 to 2 inches of water per week during the growing season. University of Minnesota Extension notes that 1 inch of water wets sandy soil to about 10 inches and heavy clay to about 6 inches, so adjust your volume based on your soil type. The most critical window is from tuber initiation (roughly when the plant flowers) through the next four to six weeks, until tubers reach about 1.5 inches in diameter. Keep soil consistently moist during this window. Fluctuating between dry and wet doesn't just reduce yield, it causes growth cracks, a cosmetic and structural defect that Iowa State University Extension links directly to moisture swings. Once tubers are sizing up and approaching maturity, you can gradually reduce water to help skins set.
Manage soil temperature
Plant early enough in spring that tubers are forming before soil heats up past 70°F. In most of the US, this means planting 2 to 4 weeks before your last frost date, since potato foliage can tolerate light frosts and you want tuber formation happening in cool soil. Apply 4 to 6 inches of straw mulch to insulate the soil surface and slow temperature rise as summer approaches. In warm climates (zones 8 to 10), fall planting for a winter harvest is often a better strategy than fighting summer heat.
Spacing and hilling
Space seed potatoes 10 to 12 inches apart in rows 2.5 to 3 feet apart. Plant 3 to 4 inches deep initially. Begin hilling when plants are about 6 to 8 inches tall, mounding soil up around the stems leaving only the top few inches of foliage exposed. Repeat when new growth reaches 6 to 8 inches again. Hilling creates more underground stem length for stolons to form on, which means more potential tuber sites. University of Minnesota Extension specifically emphasizes hilling as a yield-support practice, not just a weed-control measure.
The one-variable-at-a-time experiment plan
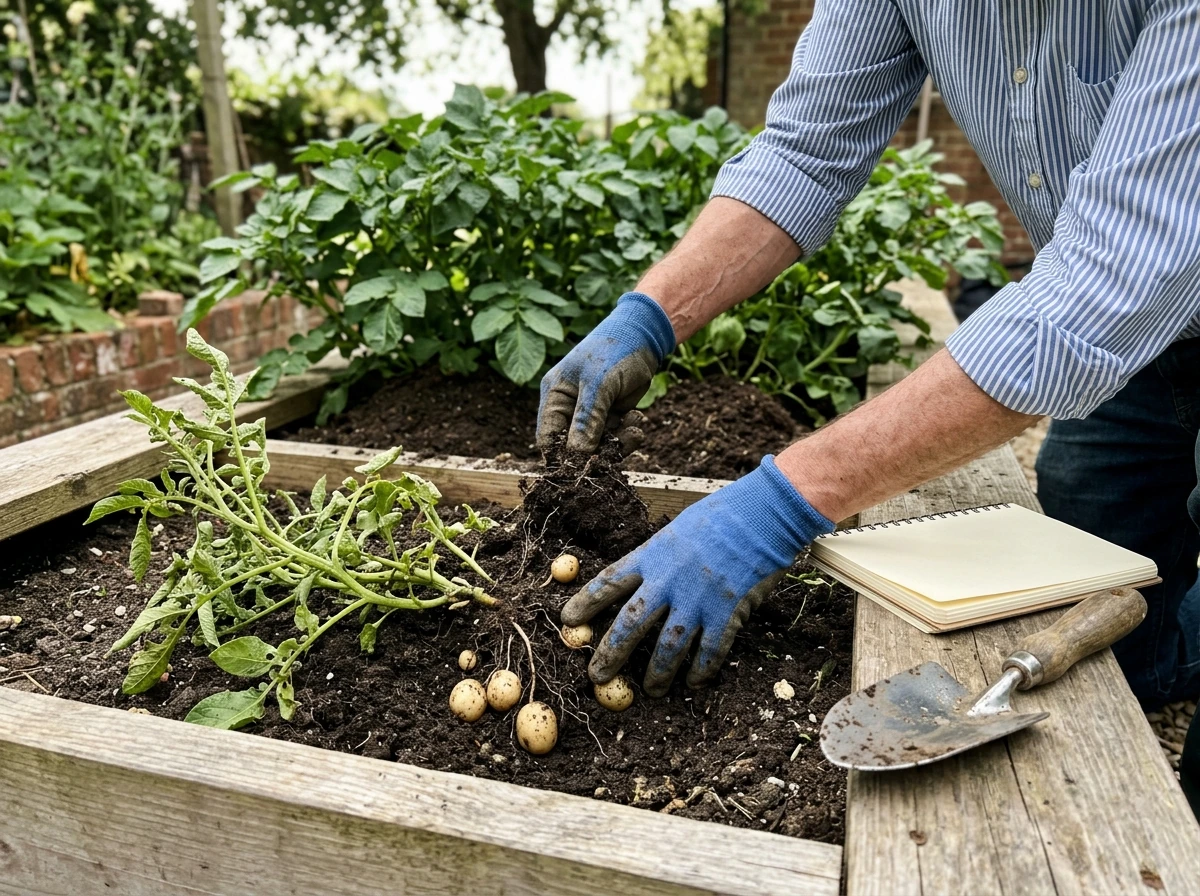
This is the approach that will tell you more about your specific growing conditions than any general guide ever can. The mistake most gardeners make is changing everything at once after a bad season, then not knowing what actually made the difference the next year. Run it like this instead.
- Write down your baseline: what variety you grew, how much yield you got (weigh it, don't estimate), what your soil pH was, how often you watered, and what your planting and harvest dates were. This is your control data.
- Pick the single most likely limiting factor based on your diagnostic checks above. If soil moisture was inconsistent, that's your variable. If you never tested pH and scab was visible, start there.
- Change only that one thing in your next planting. Keep everything else as close to your baseline as possible. If you're testing consistent moisture, use a timer-controlled drip line so there's no guesswork.
- Track the result: final yield in pounds per plant, visible disease, tuber size, and any other relevant observations. Take notes during the season, not just at harvest.
- If yield improved, that was your bottleneck. Fix it permanently and then identify the next limiting factor. If yield didn't improve, that variable wasn't the ceiling, and you move to the next candidate.
- Repeat for two to three seasons. Growing conditions vary year to year, so a single season result is directionally useful but not definitive.
This is essentially the same approach that plant researchers use in controlled environments. Watney's situation was a forced experiment in the worst possible conditions: fix one problem at a time or the whole system collapses. You have the luxury of time and multiple seasons. Use them.
What to realistically expect from a home potato patch
Let's put some numbers on this, because vague optimism doesn't help when you're planning a food garden.
| Scenario | Expected Yield | Notes |
|---|---|---|
| Average home garden (no optimization) | 2 to 5 lbs per plant, 10 to 15 lbs per 10-ft row | South Dakota State and University of Maryland baseline estimates |
| Optimized soil, moisture, and temperature | 5 to 10 lbs per plant | Achievable with consistent watering, correct pH, and hilling |
| Container growing (5-gallon per plant) | 1 to 3 lbs per plant | Volume-constrained; useful for small spaces but lower ceiling |
| Trash can or large container growing | 3 to 8 lbs per container | Depends heavily on container size, drainage, and soil mix |
For self-sufficiency math: an adult needs roughly 5 pounds of potatoes per week as a meaningful dietary staple. That's 260 pounds per year per person. At 5 lbs per plant with good management, you're looking at 52 well-managed plants per person, which requires real growing space. This is why Watney's fixed Hab floor area was such a hard constraint: you can't grow enough calories in 120 square feet of improvised garden to feed a person long-term, no matter how well you manage the other variables.
The cost side of the equation is genuinely favorable. Seed potatoes typically run $3 to $6 per pound, and a pound of seed potatoes plants roughly 4 to 6 feet of row. If you get 15 lbs per 10-foot row with good management, you're producing $15 to $25 worth of fresh potatoes (at grocery store prices) from $1.50 to $3 in seed potatoes plus soil inputs. The return is real, but it requires getting your limiting factors under control first. A poorly managed plot that yields 5 lbs per row is a money loser when you account for time, water, and soil amendments.
The clearest takeaway from both The Martian and real-world potato growing is this: more effort without diagnosing the actual bottleneck doesn't help. Whether the constraint is soil volume, water consistency, soil temperature, pH, or disease, you need to identify and fix the specific ceiling before you can expect more from your plants. Fix one thing at a time, measure the result, and build from there. That's how Watney would have approached it if he'd had the seasons to spare.
FAQ
If my potato plants look healthy, why do I still get small yields?
Use soil temperature trends, not air temperature. If the soil at about 4 inches stays above 70°F, tuber initiation slows, so your yield limit is set before you notice it in the foliage. In warm areas, start with earlier planting dates and earlier-maturing varieties first, then add shade only if you still see soil heat drifting upward.
How do I know whether my yield problem is water timing or something else?
Check soil moisture specifically during tuber initiation through the next 4 to 6 weeks. If that window swings between dry and wet, you can get fewer or smaller tubers even if the plants later look vigorous. A simple approach is to water deeply but on a schedule that keeps the soil in a moist, wrung-out sponge range rather than letting it fully dry out between waterings.
What should I do if I’m seeing scab, but my fertilizer plan seems correct?
Once you have scab symptoms, avoid reacting by changing everything at once. Scab is mainly driven by dry, alkaline conditions during tuber formation, so focus on moisture consistency first, then confirm pH with a soil test. If you adjust pH with sulfur, do it well ahead of planting because the change is slow, and don’t assume fertilizer rate alone will fix scab.
Why do potatoes in grow bags or trash cans do poorly even when I follow the watering directions?
In containers and grow bags, the root cause is often soil volume and heat buildup at the tuber zone, even if you water correctly. Each plant needs enough underground space, and small containers heat faster, which can suppress tuber formation. If you are using bags, consider moving to larger bags or using multiple plants per larger volume rather than spreading the same total soil thinner across many small containers.
Could my fertilizer schedule be causing fewer tubers even if the plants are green and vigorous?
Avoid “too much” nitrogen around flowering. Excess nitrogen late in the season pushes the plant to make more leafy growth instead of directing energy to tubers. If you fertilize, keep phosphorus and potassium adequate at planting, then use lower-nitrogen side-dressing as plants approach flowering, and stop feeding nitrogen once you see the shift toward tuber sizing.
My leaves got spots late in the season, should I wait and treat after I see symptoms?
Do not rely on late-season foliar spraying as your main strategy for late blight. For late blight, prevention before infection takes hold is what protects leaves and indirectly supports tuber development. If you see typical lesions early, switch from reactive feeding to a structured prevention plan for the rest of the crop, and remove heavily infected foliage if you can do so without spreading spores.
How do I choose potato varieties for a short cool season without guessing?
Try to match variety maturity to your cool window, and treat that as a hard constraint. If your local soil heats quickly, late varieties can fail to size tubers before the temperature ceiling is reached. Pick early varieties first, then use straw mulch and planting timing to extend the cool period rather than increasing inputs.
What’s the best way to tell scab, late blight, and rot apart quickly?
If you skip disease diagnosis, you can end up treating the wrong problem. Rough, scabby patches usually point to scab, while soft water-soaked tubers suggest a different issue, such as rot. Before you change anything, separate plant issues at the leaf level (late blight indicators) from tuber skin issues (scab indicators), because the interventions differ.
What should I do first when I’m troubleshooting after a bad potato harvest?
Start by measuring what you can control: soil pH, soil moisture consistency, and soil temperature at tuber depth. After that, verify your spacing and hilling are sufficient, then check drainage and aeration by feel and by structure (compaction causes tuber limits). If you change one variable at a time and keep notes, you will usually identify the single biggest ceiling within a season.
Is it possible to improve yields without soil testing if I’m short on time?
No. Potatoes can look fine but still have yield-limiting conditions underground, especially temperature and moisture during tuber initiation. If you cannot do a soil test, use a thermometer at tuber depth and moisture checks, and focus on correct spacing, proper hilling, and consistent watering during the critical window.
Can I use Weed and Feed to control weeds while growing potatoes?
If you use “Weed and Feed,” it can harm vegetables because the herbicide component is not selective for potatoes. To stay safe, keep to vegetable-appropriate fertilizers only, and if weeds are a problem, manage them with mulching, hilling, and hand removal early rather than blanket products.
Next Article
Potato Grow Roots Can Eat: How to Check and Use Safely
Learn if sprouted or rooting potatoes are edible, how to check for safety, what to cut off, and how to store to prevent